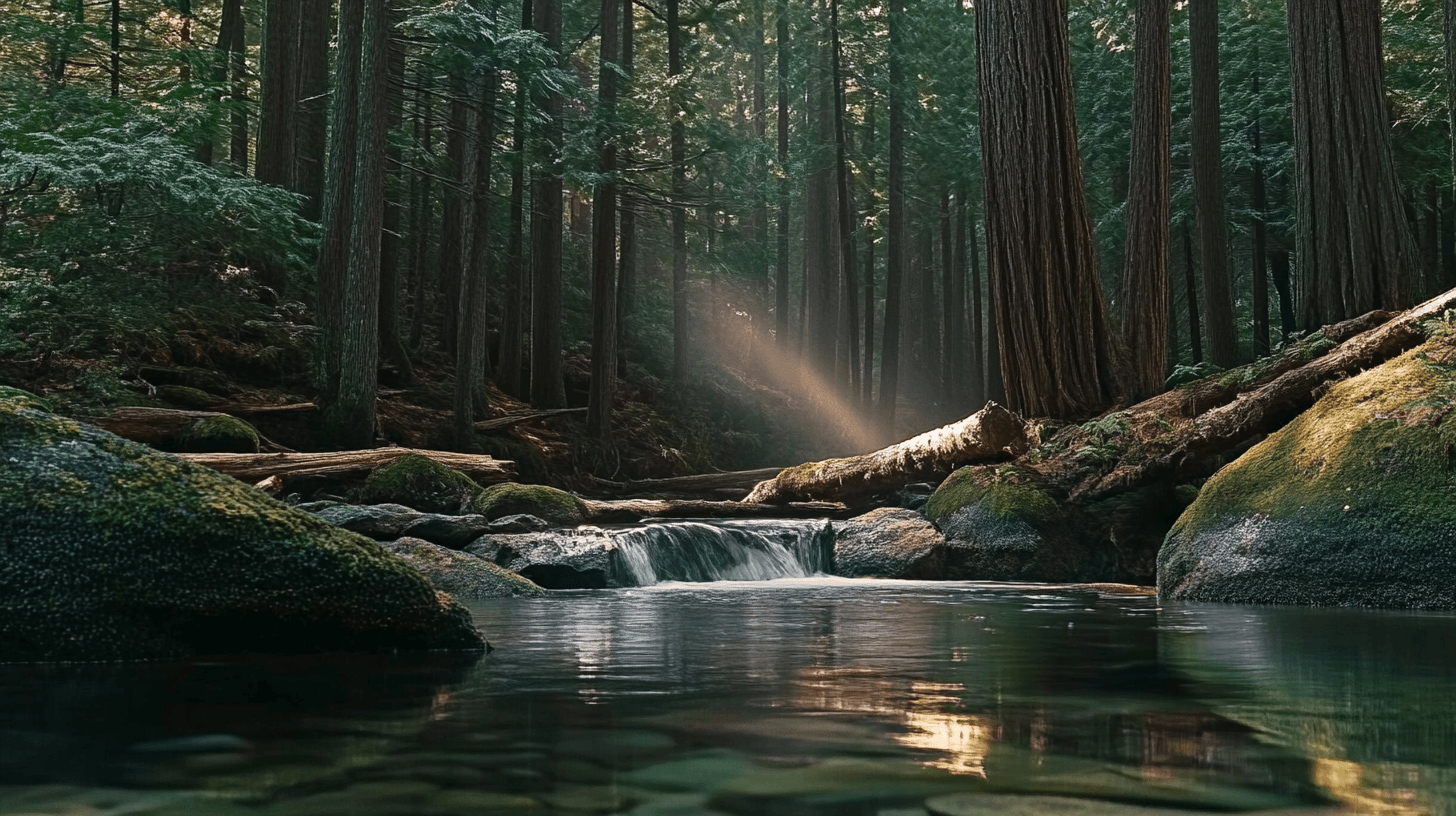
Water is the most critical resource in a survival situation. You can go weeks without food, but without clean drinking water, dehydration can set in quickly, impairing your ability to think clearly and act effectively. While finding water in the wild is one challenge, ensuring it’s safe to drink is another. Natural water sources like rivers, lakes, and ponds often contain harmful bacteria, parasites, and contaminants that can lead to severe illness. In a long-term survival scenario, knowing how to build a reliable water filter using natural materials can mean the difference between life and death.
This guide will walk you through the importance of filtering water, different types of natural filtration methods, and a step-by-step process to construct a survival water filter from scratch.
Why You Need to Filter Water in the Wild
Drinking contaminated water can expose you to a variety of dangerous microorganisms, including Giardia and Cryptosporidium, which cause severe diarrhea, vomiting, and dehydration. Even seemingly clean, crystal-clear water may contain microscopic pathogens or chemical pollutants that are invisible to the naked eye. Boiling is the best way to eliminate harmful bacteria and viruses, but it requires fire and a heat-resistant container. Chemical purifiers, such as iodine or chlorine tablets, can also disinfect water, but they may not always be available. That’s where filtration comes in.
A survival water filter helps remove sediment, debris, and some bacteria, improving both the safety and taste of the water. While a homemade filter won’t make water completely sterile, it significantly reduces contaminants, making it much safer to drink. When combined with boiling or chemical purification, this method provides the best chance of staying hydrated without the risk of illness.
Finding a Water Source
Before filtering water, you need to find a suitable water source. The best options include fast-moving streams and rivers, as they tend to be less stagnant and therefore have fewer bacteria and parasites compared to standing water sources like ponds. Avoid water that has an unusual color, foul odor, or visible algae blooms, as these are signs of heavy contamination. If rainwater is available, it’s usually the safest natural option, as it hasn’t yet collected impurities from the ground.
If you’re near the coast, be aware that saltwater cannot be purified using a standard survival filter. Desalination requires special techniques, such as distillation, to make seawater drinkable. If all you have is muddy or murky water, allow it to settle in a container for several hours before filtering to reduce sediment.
Materials Needed for a Survival Water Filter
A homemade water filter works by layering different materials to trap debris, dirt, and microorganisms. The materials you’ll need include:
A sturdy container:
This could be a plastic bottle, a hollowed-out log, or even a large bamboo stalk.
Cloth or fabric:
Acts as a first layer to remove large debris. A piece of clothing, bandana, or cheesecloth works well.
Small pebbles or gravel:
Helps remove large particles and prevents finer materials from clogging the filter.
Sand:
Acts as a finer filter to trap smaller impurities.
Charcoal:
The most effective component, as it absorbs toxins, removes odors, and significantly improves water quality. You can create charcoal by burning wood until it turns into blackened coals.
Step-by-Step Guide to Making a Survival Water Filter
Step 1: Prepare the Container
If using a plastic bottle, cut the bottom off and turn it upside down so the neck becomes the outlet for the filtered water. If using a natural container like bamboo or a hollow log, ensure one end is open for water entry and the other has a small hole for the filtered water to exit.
Step 2: Add a Cloth Layer
Start by placing a piece of cloth or fabric at the bottom of the container to act as a filter barrier. This will prevent smaller particles from passing through while holding the filtration materials in place.
Step 3: Layer the Materials
Add a layer of small pebbles or gravel first. This prevents the finer materials above from being washed out and helps remove larger debris. Next, add a thick layer of sand. The finer the sand, the better it will filter out dirt and microorganisms. Finally, place a layer of crushed charcoal on top. The charcoal will trap many impurities, chemicals, and some bacteria, improving the water’s clarity and taste.
Step 4: Pour Water Through the Filter
Slowly pour your collected water into the top of the filter, allowing it to pass through each layer. The first few runs may be cloudy, so discard the initial water and repeat the process until it comes out clearer.
Step 5: Purify the Water
Even after filtering, the water may still contain microscopic bacteria and viruses. Boiling the filtered water for at least one minute (or three minutes at higher altitudes) ensures it is safe to drink. If boiling isn’t an option, consider using purification tablets or exposing the water to sunlight in a clear plastic bottle for several hours, a process known as solar disinfection.
Alternative Survival Water Filtration Methods
If you don’t have the materials for a layered filter, there are other ways to purify water in a survival situation. One simple method is using soil filtration. Dig a hole several feet from a water source and allow water to seep into it. As the water passes through the soil, some impurities are naturally removed. While this isn’t foolproof, it can provide clearer water that can then be boiled or chemically treated.
Another method is using natural fibers such as grass or moss. These can be packed into a hollow tube, such as bamboo or a sock, and used as a makeshift filter. Though not as effective as a charcoal filter, this can remove larger particles in an emergency.
Staying Hydrated in a Survival Situation
Dehydration can cause fatigue, dizziness, confusion, and ultimately lead to organ failure if left untreated. Knowing how to locate, filter, and purify water is one of the most valuable survival skills. But prevention is just as important as purification. When traveling in the wild, conserve water by staying in shaded areas, avoiding strenuous activity during the hottest parts of the day, and wearing light, breathable clothing. If you’re in a desert or arid environment, travel at night when temperatures are cooler and water loss is reduced.
Water sources in the wild can be unpredictable, so whenever you find a good source, drink as much as possible and store extra for later. Carrying a reusable container, such as a canteen or collapsible water bottle, makes it easier to transport and store water for when you need it most.
Final Thoughts
Mastering the ability to make a survival water filter is an essential skill that can save your life. Clean water is one of the most valuable resources in the wild, and knowing how to find, filter, and purify it can keep you hydrated and healthy in an emergency. While a homemade filter won’t make water completely sterile, it significantly reduces contaminants and improves water quality.
If you find yourself in a survival situation, remember that filtering is just one step in the process. Always purify your water by boiling, using chemical treatments, or utilizing solar disinfection whenever possible. By combining multiple methods, you maximize your chances of staying hydrated and avoiding dangerous waterborne illnesses.


