When There's No DoctorThe First Minute When Someone Collapses
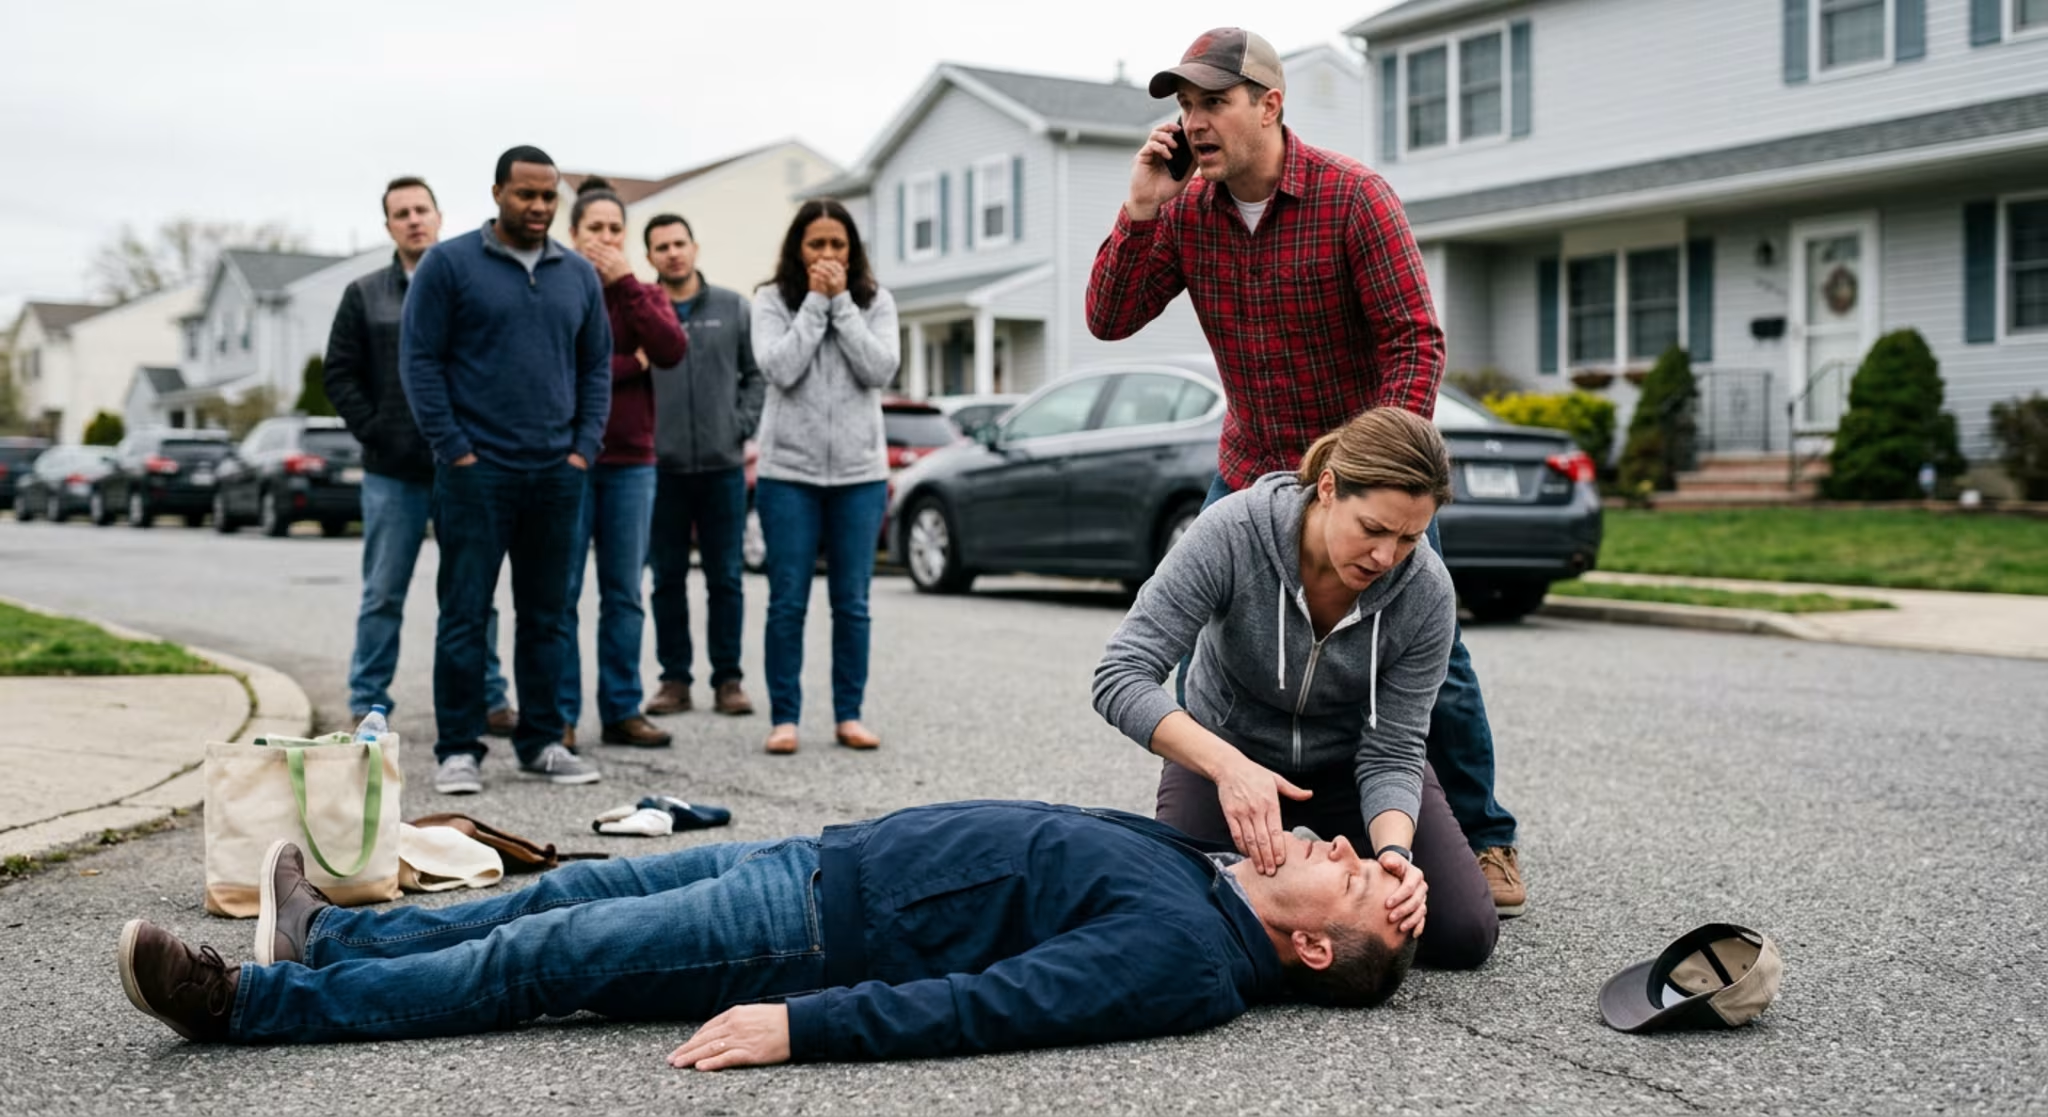
You walk up and someone is down. Not sitting. Not asking for help. Just lying there, unresponsive. That moment can feel unreal, like your brain is waiting for someone else to take over. In a normal day, you expect professionals to arrive quickly. In a storm, riot, remote trail situation, or any SHTF...
April 1, 2026