Stranded & AloneHow to Navigate Without a Map or GPS and Not Get Lost
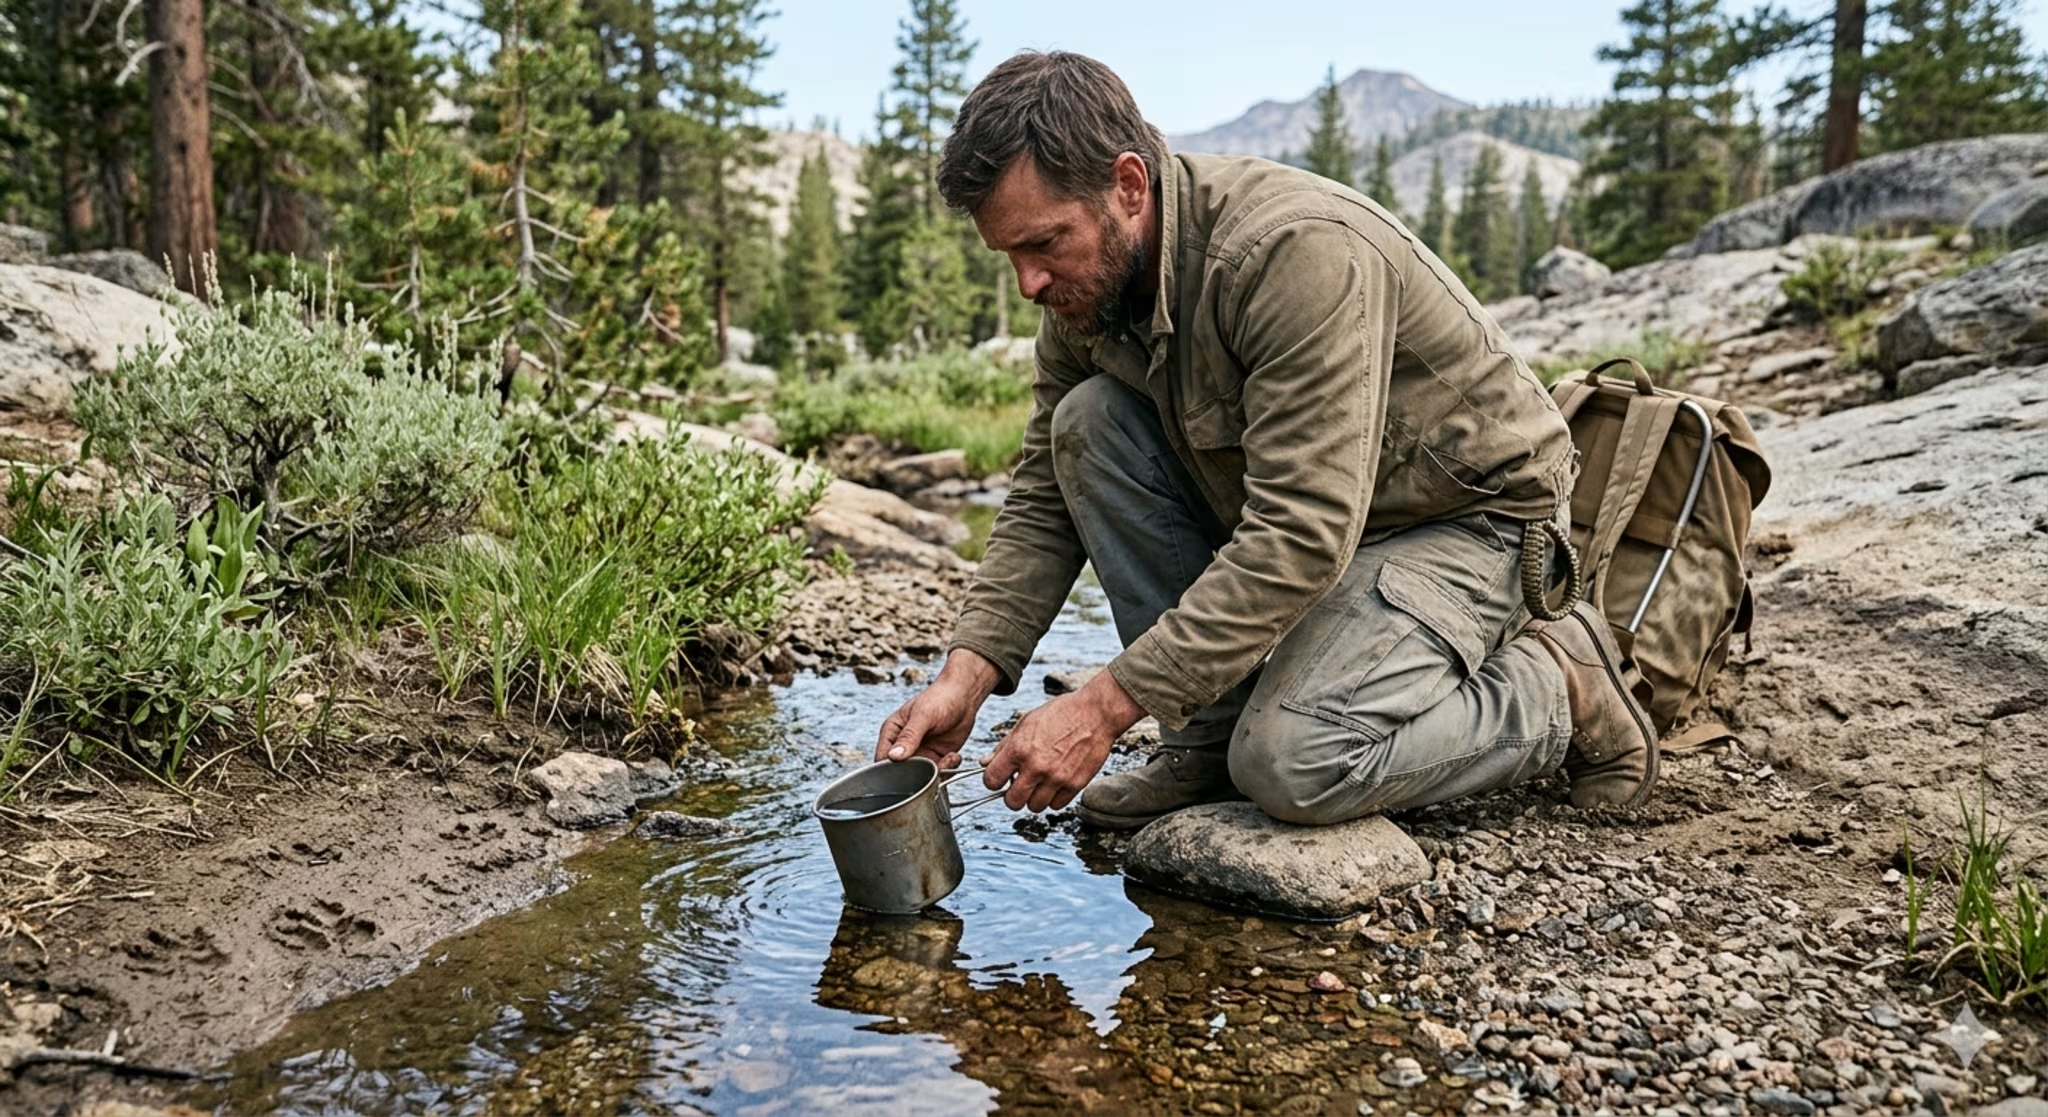
Your phone dies. The trail fades out. The road you meant to follow bends into nothing, and suddenly you are moving through open ground with no map, no signal, and no clean reference point. This is how people get lost for real. Not in some dramatic movie moment, but in a slow drift of bad assumptions...
April 20, 2026